
This guide shows how to set up and configure the Tasker AutoRemote Plugin on Android. In the following articles it it shown how to do the same on PCs and how to install the Chrome Plugin.
Getting started with AutoRemote consists of several articles:
- Getting started with AutoRemote for Tasker on Android
- AutoRemote Chrome Extension Configuration
- AutoRemote EventGhost Plugin Configuration
Getting started with AutoRemote for Tasker on Android
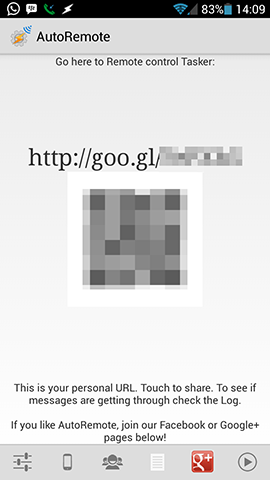
After downloading the Tasker AutoRemote Plugin from the Play Store it automatically generates a device URL and asks you if you want to watch a Video. I recommend the watch the video. After that you can give a name to your device. You will be also asked if you want to set up Dropbox for backups, I would recommend that.
The device URL is used for communication with this device in future. You can go to it in your browser and send messages directly to your device.
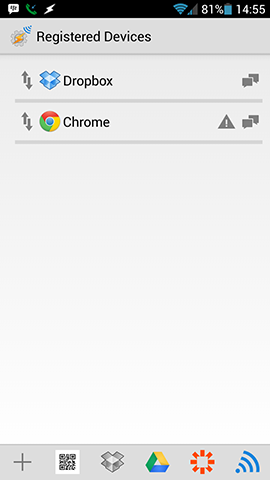
In the second menu item on the bottom from the left you can add other devices through their URL or QR Code. You don't need to do that right now, this gehts more interesting if you want to connect more than one Android device.
As you can see on the left screen AutoRemote offers a lot of settings. You can reach them over the menu button left side at the bottom. For example you can set a password for your device so that your device will just accept messages with this password.
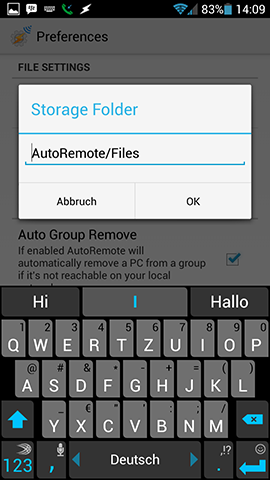
On the right screen you can see the setting for the storage folder for received files. You can adjust the path.
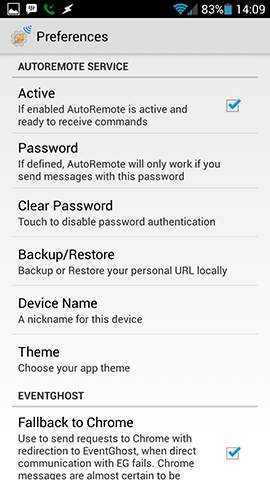
Additionally I would advise you to change the setting for Toasts. I just want to be notified if my device receives a message, not when I send one.
Beneath that you can make an URL backup to Dropbox, I would advice you to do that.

You are finished with setting up the Tasker AutoRemote Plugin on your Android device and now it can be used.
The next step is setting up the AuoRemote Chrome Extension.


Why doesn’t my AutoRemote display the QR Code – it just shows the URL?